
How to Paint Your Bookshelf to Match Your Space
A bookshelf is more than storage — it can be a focal point and a reflection of your style. Whether you're refreshing an old shelf or customising a new front-facing bookshelf, painting it is a fun, rewarding DIY project. Here's how to paint a bookshelf to match your space.

Step 1: Gather your materials
- Your bookshelf (a raw-wood shelf takes paint beautifully)
- Sandpaper (120-grit and 220-grit) and a tack cloth
- Painter's tape
- Primer
- Paint (latex or oil-based)
- Paintbrushes and/or rollers
- Drop cloth, a screwdriver (if disassembling) and safety gear (gloves, mask, goggles)
Step 2: Prepare the bookshelf
Preparation is key to a smooth, professional finish. Wipe the whole shelf with a damp cloth and let it dry, then sand with 120-grit sandpaper so the primer and paint adhere better. Wipe away dust with a tack cloth.

Step 3: Apply primer
Primer is essential for raw wood — it seals the timber, hides imperfections and creates a smooth base. Tape off any areas you want to leave unpainted, apply an even coat with a brush or roller, let it dry, then lightly sand with 220-grit and wipe clean.
Step 4: Paint the bookshelf
Choose a colour that complements your space — latex dries fast and cleans up easily, while oil-based is extra durable. Apply thin, even coats (brush for corners and edges, roller for flat surfaces), let the first coat dry fully, then add a second coat for richer colour and coverage.
Step 5: Reassemble and enjoy
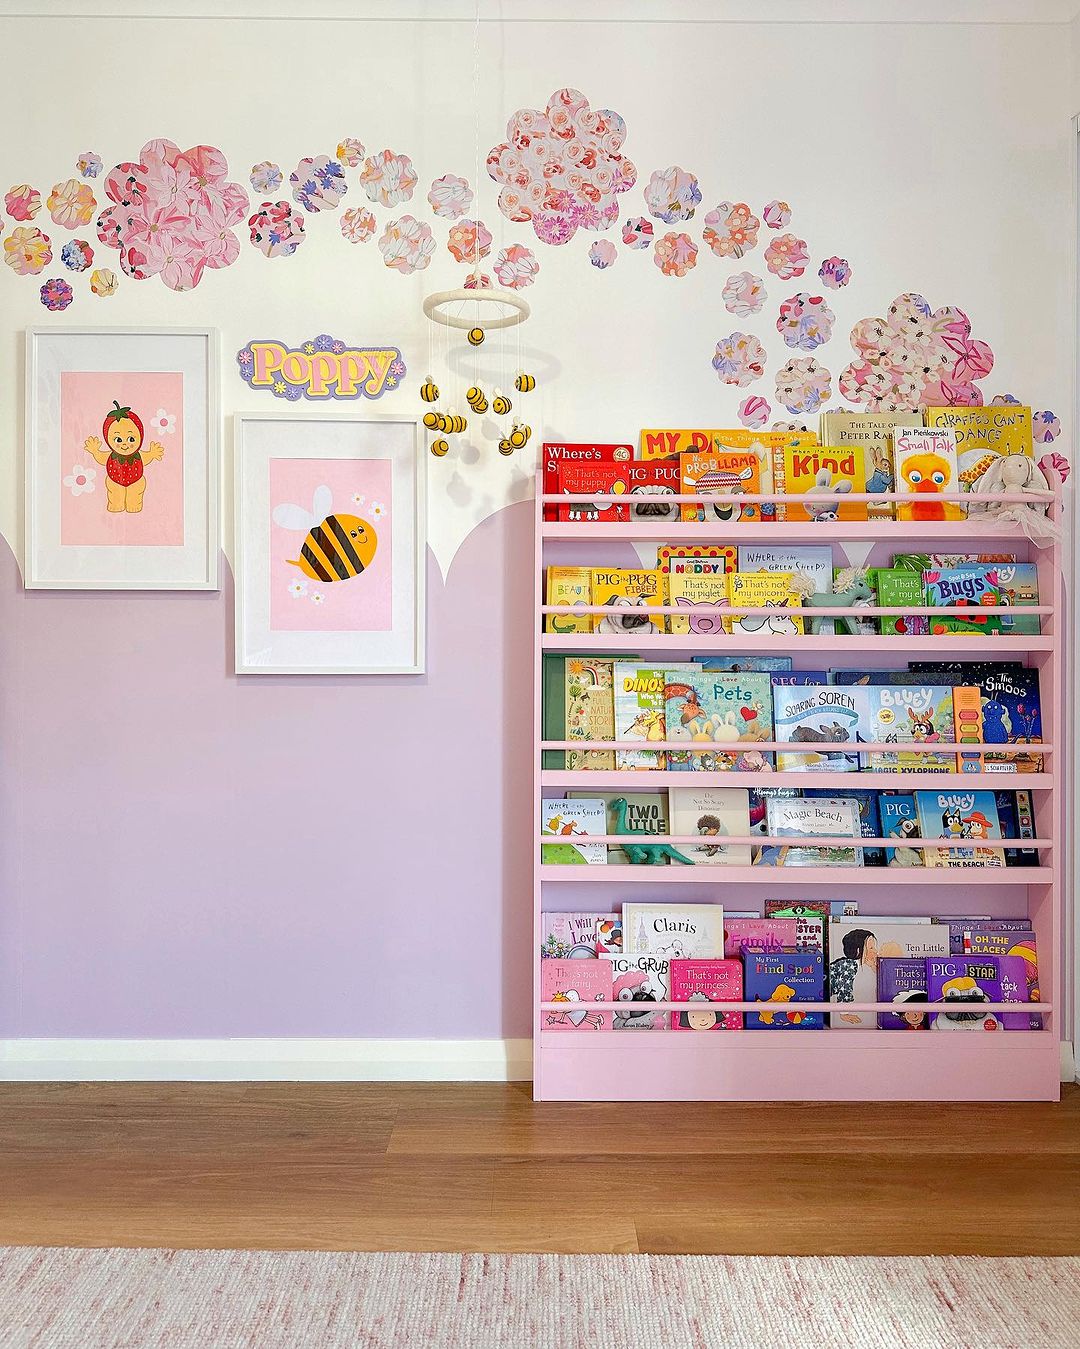
Remove the painter's tape, reattach any shelves and hardware, then style your bookshelf with your favourite books and decor.
Tips for a professional finish
- Be patient — allow proper drying time between coats.
- Ventilate — keep your workspace airy.
- Test colours — try a small area first to see it in your lighting.
Prefer to keep the natural timber instead? See our guide on raw wood vs. varnished finishes, or browse the Book & Toy Shelves collection to find a shelf to make your own.